Feeds:
Posts
Comments

Archive for the ‘Dessert’ Category

Honestly, I have no idea how many places in Hawaii serve up onion rings but every time I go home, I crave the ONION RING TOWER at the Yard House (chain restaurant found in nine states) on Lewers St. in Waikiki and I think that it’s the best I’ve ever had.  It comes with both regular Ranch and Chipotle Ranch dipping sauces and is piled high on this pole. The batter is very light, crisp and slightly sweet and I could probably eat the whole thing by myself but I have always shared it with someone.

If you order it, make sure you enjoy it with some of their over 100 draft beers!  Apparently they have the world’s largest selection of beers on tap!  The downside of the place is that it is very noisy and you can’t really book reservations. The weekends are very busy and the wait can be around an hour for a table.  Luckily, the restaurant is right where there are new shops to whittle the time away.

To finish, their Kona coffee ice cream sundae was as HUGE (as big as my face) and it was very, very tasty.  Hubby got the Lemon Souffle Cake and it was really disappointing so don’t waste your time on that (didn’t even taste like lemons).

Aloha!

Advertisement

Read Full Post »

Recently, an American friend in Sydney told me that she had just made chocolate chip cookies.  That statement suddenly made me craving to make homemade warm chocolate chip cookies (which taste superior to anything bought in a store or cafe).

The problem with store-bought stuff is that the ingredient list is filled with crap that you can’t pronounce and the ingredients for really good cookies should all be natural to taste heavenly.  Unless you have time to melt beautiful 70% + couverture and then pipe them into chocolate chips, or to chop them into small pieces, a bag of Nestlé Toll House or Cadbury chips should do fine.  Toll-House is a household name in the U.S. but I find their chips a little bit on the sweet side but I think that their recipe for chocolate chip cookies is really one of the all-time best and foolproof.  I like adding chopped walnuts for extra indulgence.  Just make sure that you are prepared to eat about four DOZEN cookies (even more if you make them small)!

No, Nestle hasn’t paid me any cash to write and boast about them.  It’s just something I felt like sharing with people who didn’t grow up with this recipe like I did and want to do some baking this weekend (especially during the winter to warm up the house!)

For me, making homemade chocolate chip cookies is what I feel makes my childhood uniquely American…just like having homemade Jelly Cakes or Lamingtons may be to an Australian child.  What cookie / biscuit reminds you of your childhood?

Original Nestlé Toll House Chocolate Chip Cookies

RECIPE:

  • 2 1/4 cups all-purpose flour
  • 1 teaspoon baking soda
  • 1 teaspoon salt
  • 1 cup (2 sticks) butter, softened OR 225 grams butter, softened
  • 3/4 cup granulated sugar
  • 3/4 cup packed brown sugar
  • 1 teaspoon vanilla extract
  • 2 large eggs
  • 2 cups (12-oz. pkg.) NESTLÉ® TOLL HOUSE® Semi-Sweet Chocolate Morsels
  • 1 cup chopped nuts (walnuts or macadamia nuts are best!)

PREHEAT oven to 375° F.

COMBINE flour, baking soda and salt in small bowl. Beat butter, granulated sugar, brown sugar and vanilla extract in large mixer bowl until creamy. Add eggs, one at a time, beating well after each addition. Gradually beat in flour mixture. Stir in morsels and nuts. Drop by rounded tablespoon onto ungreased baking sheets.

BAKE for 9 to 11 minutes or until golden brown. Cool on baking sheets for 2 minutes; remove to wire racks to cool completely.

PAN COOKIE VARIATION: Grease 15 x 10-inch jelly-roll pan. Prepare dough as above. Spread into prepared pan. Bake for 20 to 25 minutes or until golden brown. Cool in pan on wire rack. Makes 4 dozen bars.

SLICE AND BAKE COOKIE VARIATION:
PREPARE
dough as above. Divide in half; wrap in waxed paper. Refrigerate for 1 hour or until firm. Shape each half into 15-inch log; wrap in waxed paper. Refrigerate for 30 minutes.* Preheat oven to 375° F. Cut into 1/2-inch-thick slices; place on ungreased baking sheets. Bake for 8 to 10 minutes or until golden brown. Cool on baking sheets for 2 minutes; remove to wire racks to cool completely. Makes about 5 dozen cookies.

* May be stored in refrigerator for up to 1 week or in freezer for up to 8 weeks.

FOR HIGH ALTITUDE BAKING (5,200 feet): Increase flour to 2 1/2 cups. Add 2 teaspoons water with flour and reduce both granulated sugar and brown sugar to 2/3 cup each. Bake drop cookies for 8 to 10 minutes and pan cookie for 17 to 19 minutes.

Happy Baking!

Raw cookie dough
Raw cookie dough
Ready to be baked

Ready to be baked

Baking in the oven
Baking in the oven
The finished cookies cooling on a rack...yum!

The finished cookies cooling on a rack...yum!

Read Full Post »

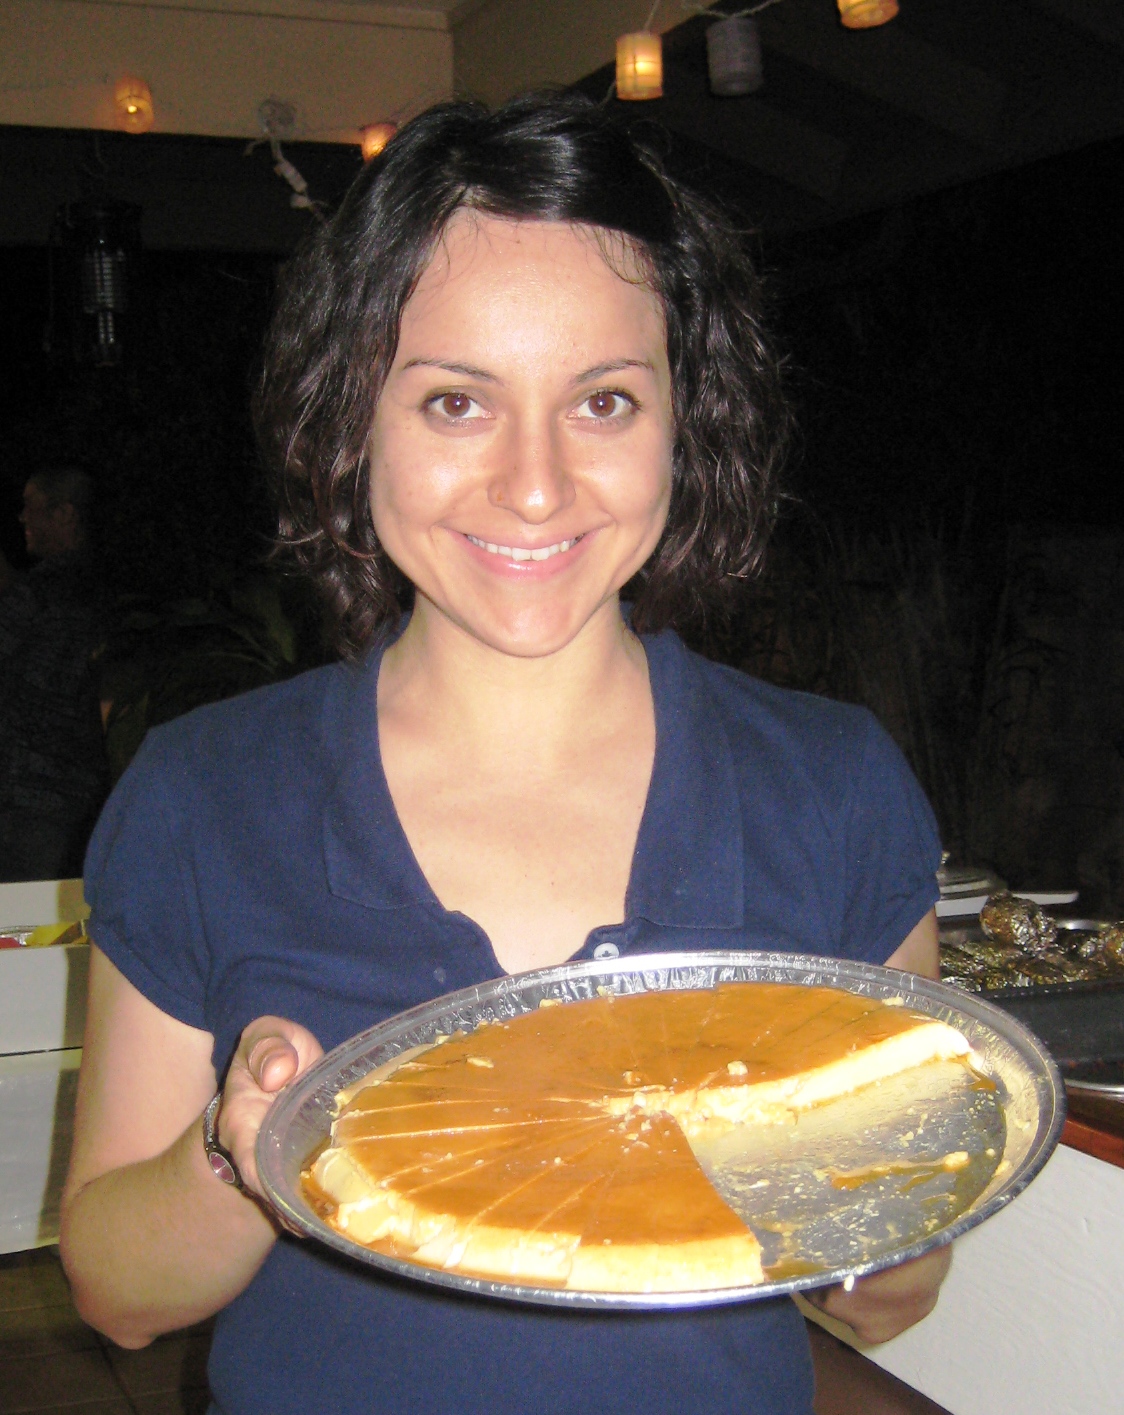
My dear friend Adriana Torres Chong, originally from Mexico City, now lives in Honolulu and teaches Mexican cuisine at the University of Hawaii’s Culinary Institute of the Pacific at Kapiolani Community College (KCC) and does freelance food photography. As a fellow foodie, we often share our passion and experiences with food with each other and also joke about our experiences whenever we’ve revealed to have studied gastronomy at university (she has a BA in Gastronomy from Universidad del Claustro de Sor Juana). Sure, foodies who read food blogs understand what gastronomy is but most people think that we study the stars or perform operations on stomachs and bowels so Adriana and I often don’t bother revealing it. An U.S. custom’s agent once asked me what I was studying in Australia and when I said gastronomy, he seriously asked if I drilled for oil (petrol)…and I digress.

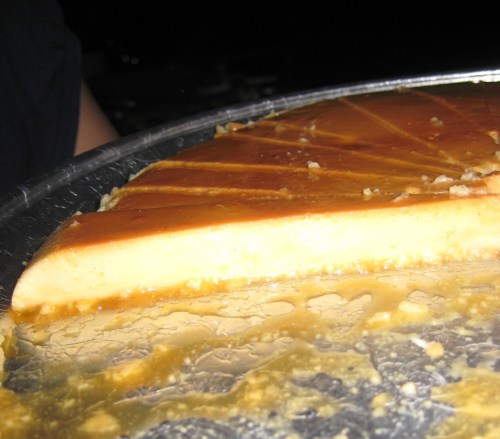
I wanted to feature her Flan de Queso on my blog because uniquely, she adds finely grated Mexican cheese (either panela or queso fresco)* in the mixture and the result is a very tasty twist on the traditional flan that is served all over Mexico. Haven’t had a Mexican flan before? It’s a wonderfully, eggy, custardy, sweet and comforting dessert. What I also love about Adriana’s flan is that it is not very dense and super rich like some I have tasted so you can easily eat more than one piece! 🙂

*Queso fresco is made by pressing the whey from cottage cheese. It is very similar to cheeses called pot cheese and farmer cheese. It has also been compared to Indian paneer and to a mild feta and panela is also a mild, soft and crumbly cheese.

Adriana’s Flan de Queso

Makes 10 servings

4 eggs

1 14 oz (395 gm) can sweetened condensed milk

1 13 oz (375 ml) can evaporated milk

1/8 tsp. ground cinnamon

4 oz (100 gm) queso fresco or panela finely grated

1 c. white caster (granulated) sugar

10 ramekins (1/2 c. capacity) or 9″ baking pan

Directions:

Pour the sugar in a warm pan over medium heat and stir sugar until it starts to dissolve and changes into a lightly brown caramel colour. At this stage, it can tend to burn very quickly so do not leave the pan at all and stir constantly. As soon as the sugar becomes a gorgeous caramel colour, take it off the heat immediately and quickly pour approximately 1 Tbsp. of caramel into each ramekin or all of the caramel into the baking dish if not using ramekins. Let the caramel cool.

Preheat oven to 350F/175C.

Either whisking by hand or in a food processor, combine the rest of the ingredients and pour the mixture into the caramel lined ramekins (or baking pan) and cover with foil.

Place ramekins or baking pan into a roasting dish and pour enough hot water in the bottom of the roasting dish to come halfway up the sides of the ramekins (or baking pan).

Bake for 35 to 40 minutes or until the flan is nearly set. To tell when it is ready, the flan should only move slightly when shaken gently or when you insert a knife 1/3 of the way from the edge and it comes out clean. Remove from the water and let them cool before refrigerating.

To serve, run a small sharp knife around each ramekin (or baking pan) and/or fill a bowl or sink with very hot water and dip the bottom for about 10 seconds to loosen. Place a plate over each ramekin and in one motion, flip the ramekin over so that the caramel is on the top. Enjoy!

Read Full Post »

%d bloggers like this: